Learn how electricity works by making a simple, series and parallel circuit using paper circuits. This is a fun hands-on learning activity for all ages.
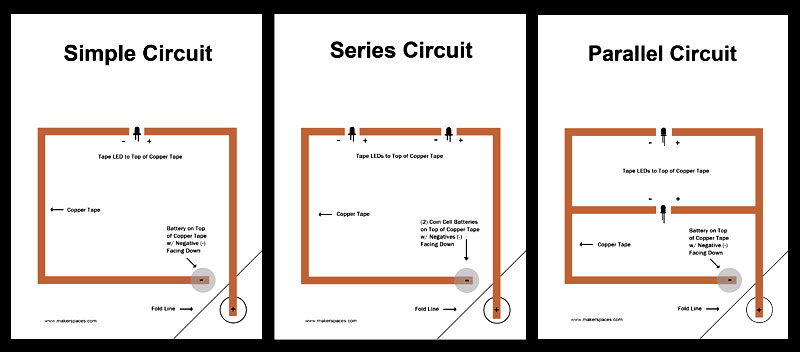
In this tutorial, we provide you with the templates needed in order to create these 3 basic circuits. All you need to provide is the copper tape, LED and a coin cell battery.
Once you learn the concepts, you can design your own custom paper circuit.
Project Time: 20 Minutes
Materials Needed
- Simple Circuit Template – PDF
- Series Circuit Template – PDF
- Parallel Circuit Template – PDF
- Copper Tape w/ Conductive Adhesive
- CR2032 Coin Cell Battery
- LED – Any size or color
- Paper Clip
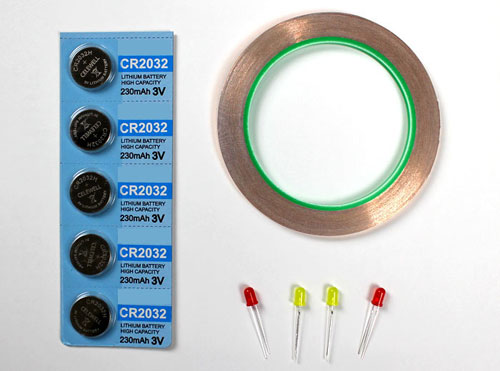
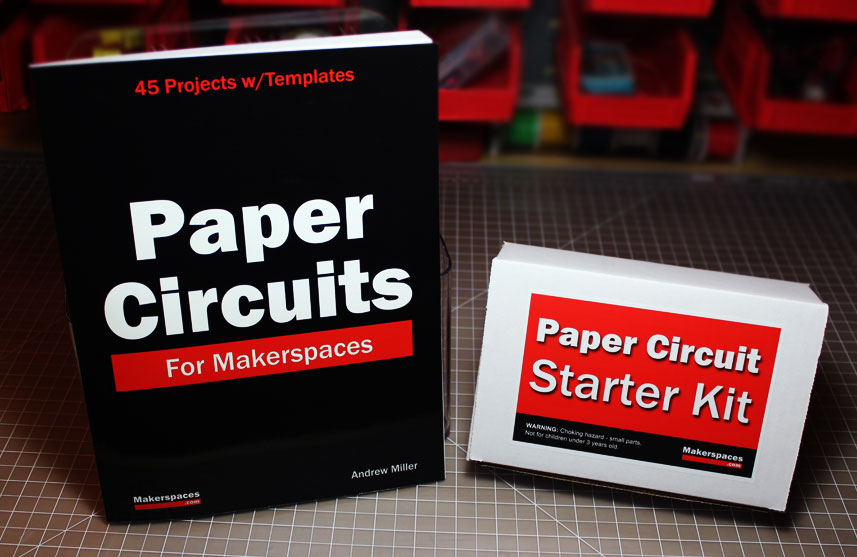
Need the materials for this project? We have a paper circuit starter kit & ebook available. The kit includes copper tape, LEDs and CR2032 batteries. Also included is a project ebook with 45 project templates.
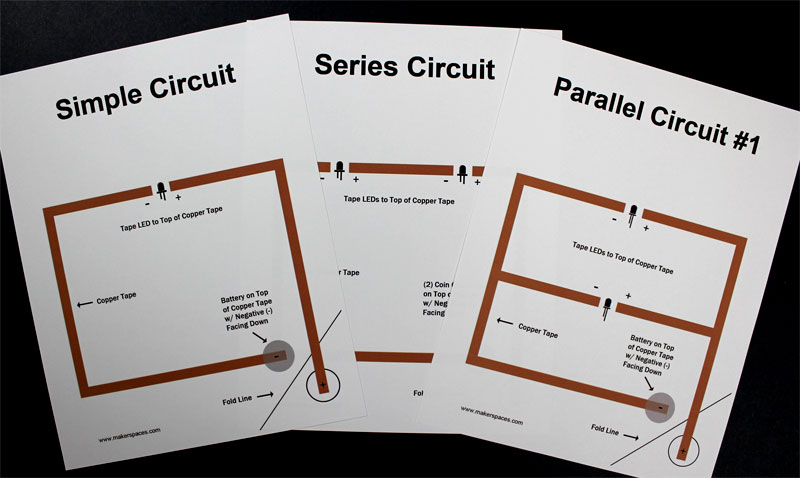
Step 1 – Print The Templates
Download and print the project template you want to work on from the list below:
- Simple Circuit Template – PDF
- Series Circuit Template – PDF
- Parallel Circuit Template – PDF
Step 2 – Apply Copper Tape
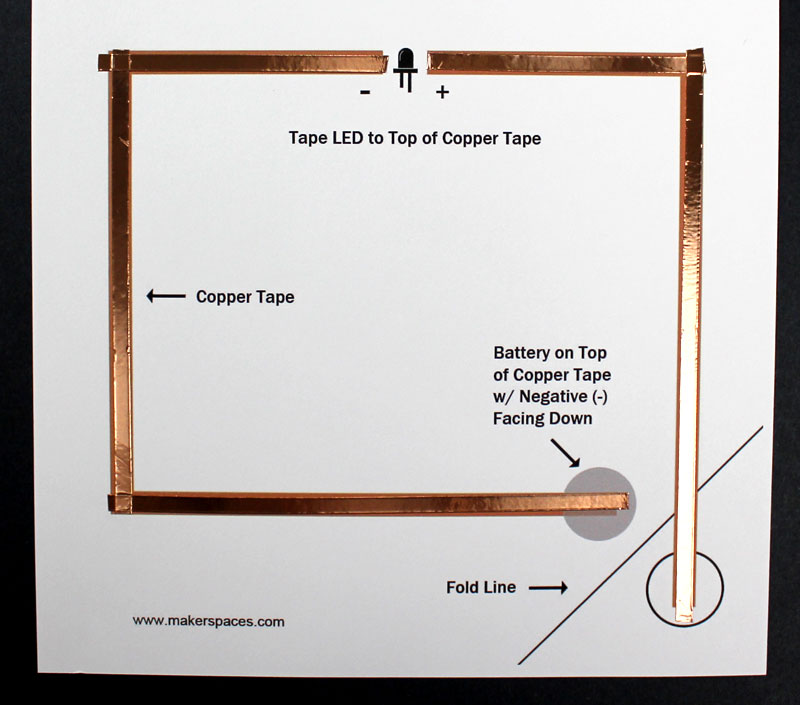
Once you have printed your template, you can begin applying the copper tape to the circuit lines.
We recommend using copper tape with conductive adhesive like the type we sell in our paper circuit kits. The conductive adhesive will allow you to apply the copper tape in multiple pieces while still maintaining its conductivity.
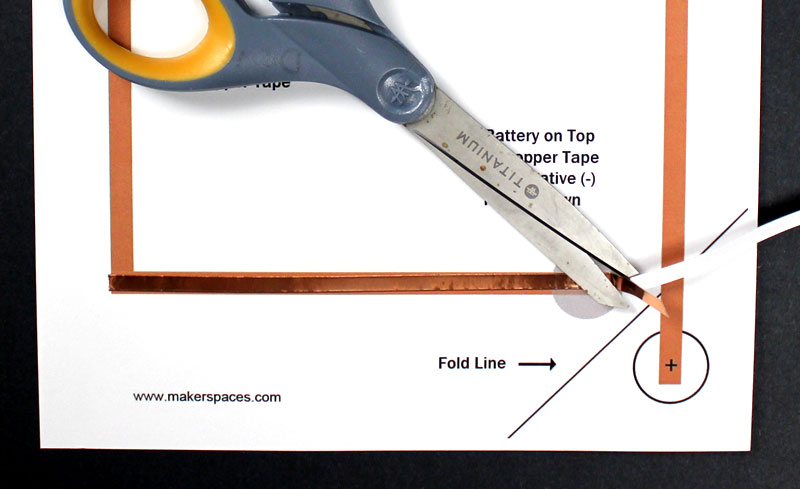
Begin by applying the tape from one corner to the next. Make sure the pieces overlap each other. Rub the connection points in the corners with your finger to ensure contact. The copper tape can be cut with scissors or torn with your hands.
Step 3 – Attach The LED
The next step is to attach the LED to the project template. Before you begin, make sure to note which leg of the LED is the long one as this is the positive.
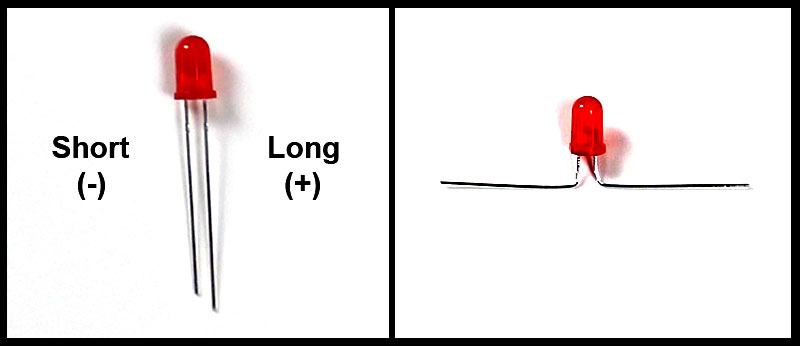
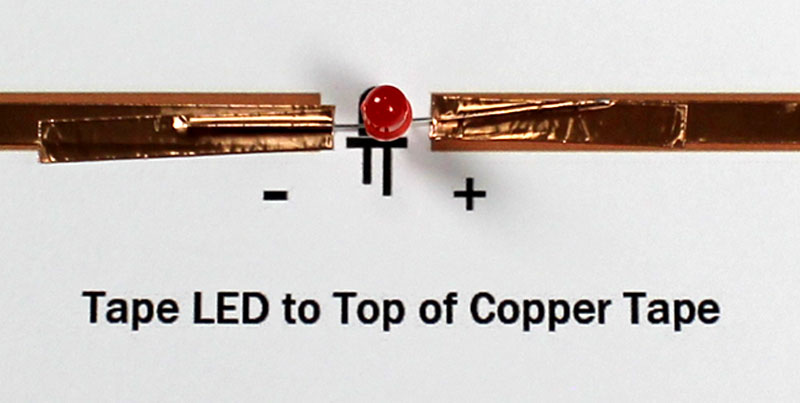
Bend both legs of the LED at a 90 degree angle and attach it to the copper tape using small pieces of copper tape. Rub the connection points to ensure solid contact.
Step 4 – Mount The Battery
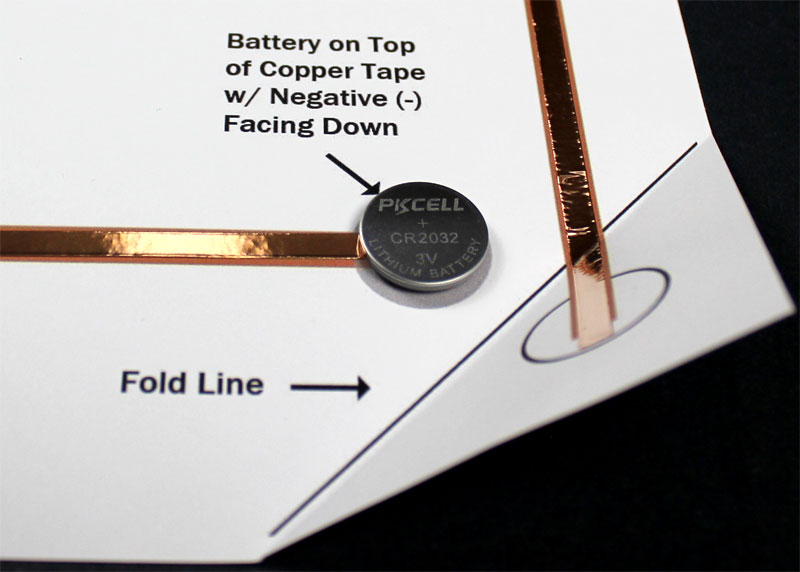
Now it’s time to attach the coin cell battery to the circuit. Before you do this, fold the corner of the template along the line.
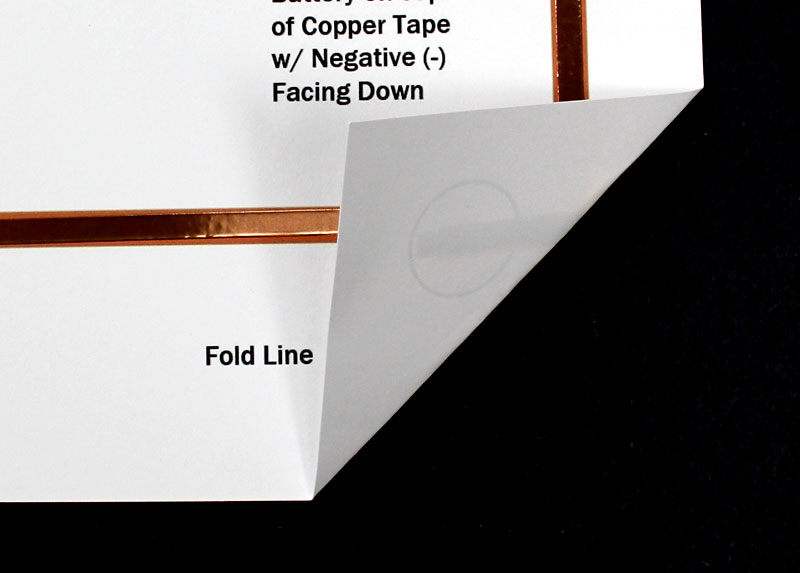
Cut a small piece of copper tape and roll it into a ball with the adhesive side facing out. Stick this ball onto the copper tape inside the battery circle.
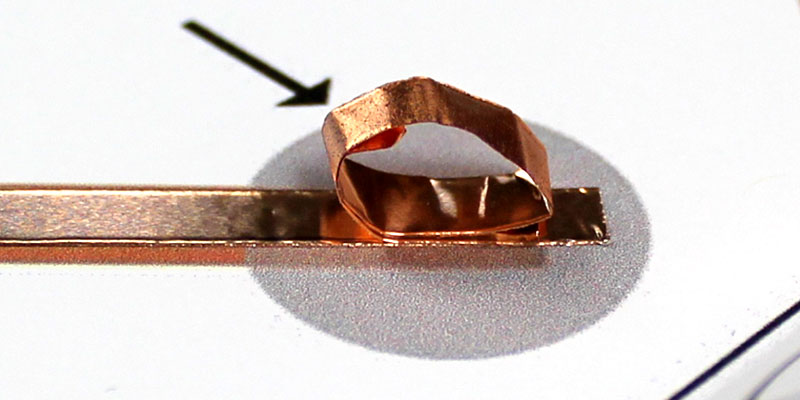
Mount your CR2032 coin cell battery to the copper tape ball with the negative (-) side facing down.
Step 5 – Test Your Circuit
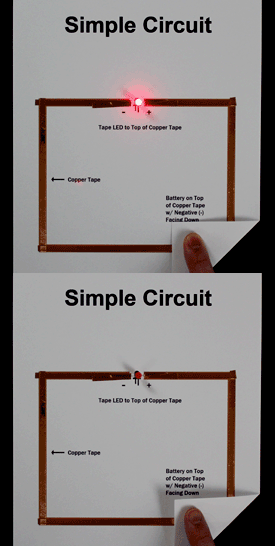
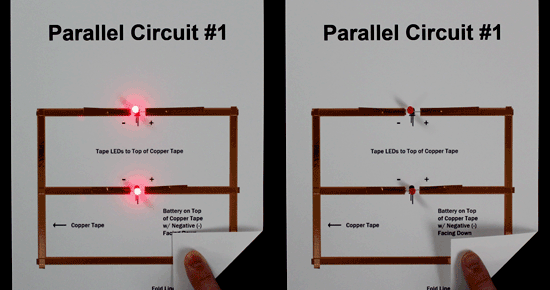
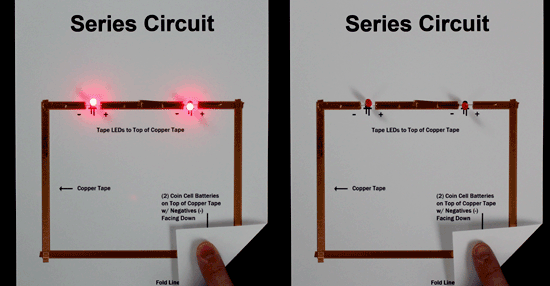
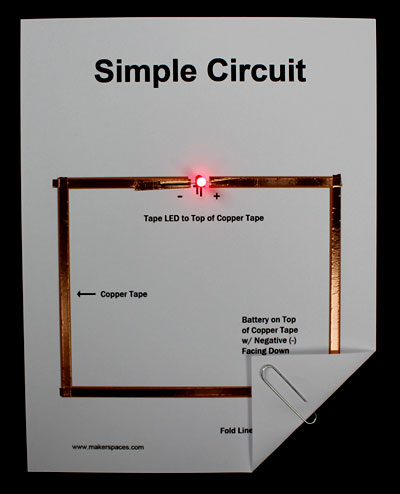
Now it’s time to test your circuit and make sure it lights properly. Fold the corner so that the copper tape contacts the top of the battery. If everything is done correctly your LED should light. You can use a paperclip to secure it if you choose.
Show Us Your Project
Follow us on Twitter at @Makerspaces_com and tweet us if you made this or another project. We love seeing your makerspaces and the creations you’re making.
Need More Project Ideas?
Check out our makerspace blog for more paper circuit project ideas and templates. We also have a paper circuit starter kit and project ebook which has 45 project templates.

