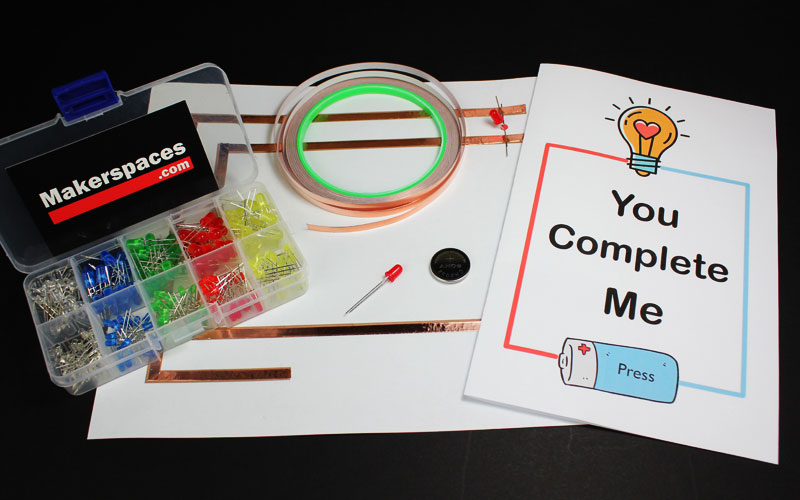
When it comes to Valentines Day, there’s nothing better than getting a handmade custom card from your loved one…and maybe some chocolates.
In this tutorial, we’re going to show you how to make a light up Valentines Day card using LEDs, copper tape and a coin cell battery.
This project is a fun way to tell your special someone that they complete your circuit.
Project Time: 15 Minutes

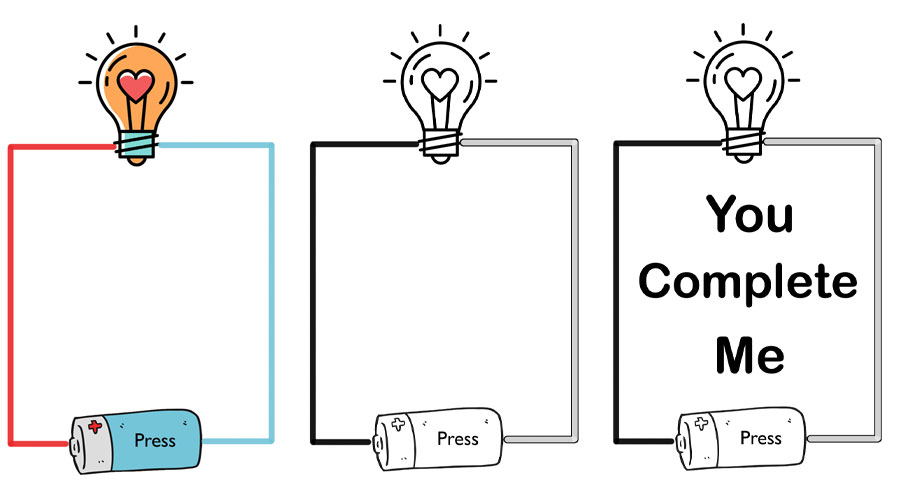
This project also includes a few different templates for you to choose from. You can pick the full color, black and white or the blank version so you can add a special message to the front and the inside.
Also Included:
Materials Needed
- Copper Tape w/ Conductive Adhesive
- (1) LED – Red
- (1) CR2032 Coin Cell Battery
- 4 Project Templates – ZIP Folder
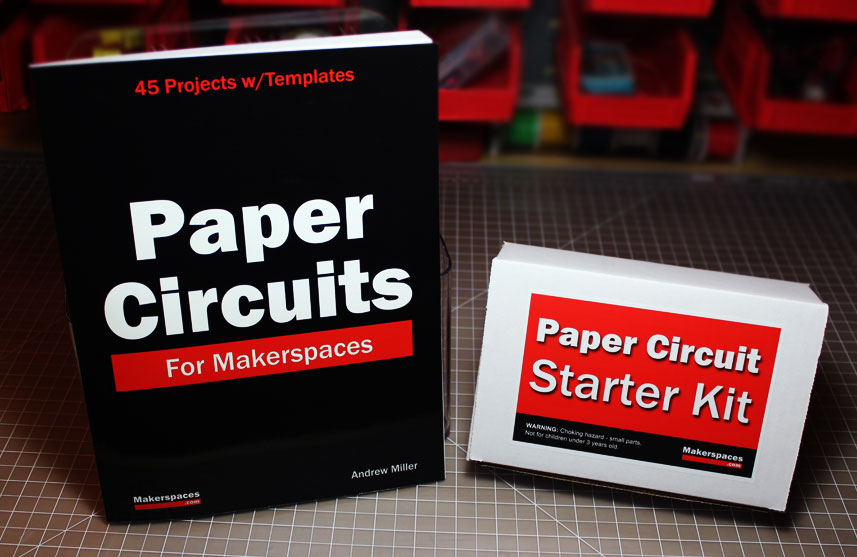
Need the materials for this project? We have a paper circuit starter kit & ebook available. The kit also includes a project ebook with 45 project templates.
Step 1 – Print The Template
To begin, you will need to download and print the project template that you want to use. Below are the choices that you can pick from.
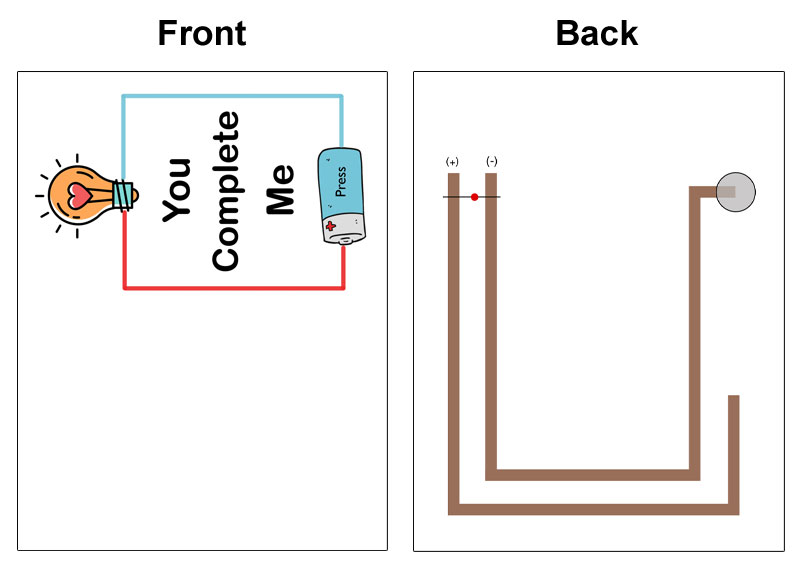
TIP – These templates are 2 pages in length. For a better looking card, it’s best to print your template using two-sided printing if your printer has the capability. This project will still work if you need to print the templates on 2 separate sheets of paper.
Step 2 – Apply The Copper Tape
The next step is to apply the copper tape to the brown circuit lines on the template. It’s highly recommended that you apply a continuous strip of copper tape versus cutting it at the corners. Maintaining the tape in a single piece will increase its conductivity and will ensure the LED lights.
If you do have to cut the copper tape at the corners, make sure your tape has conductive adhesive like the tape we sell in our paper circuit kits. This adhesive will allow you to put copper tape on top of copper tape and still work.
How To Bend At The Corners
Begin by applying the copper tape straight to the corner.
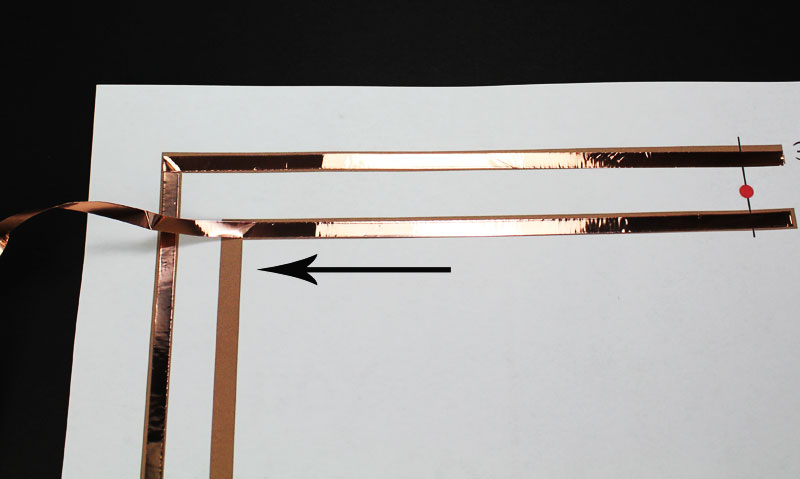
Next, fold the copper tape at 45 degree angle up.
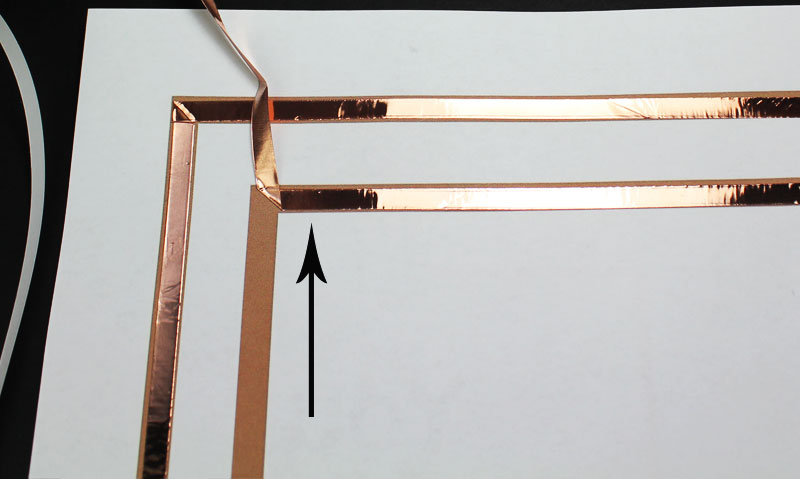
Lastly, you will need to fold the copper tape straight down. It helps if you use your fingernail to make a little indentation at the corner before folding down.
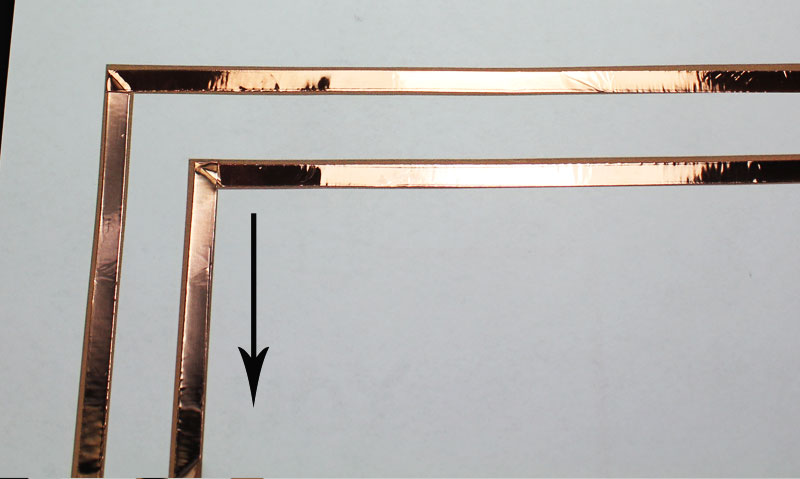
Once all the copper tape has been applied, rub your finger along it to smooth it down on the paper.
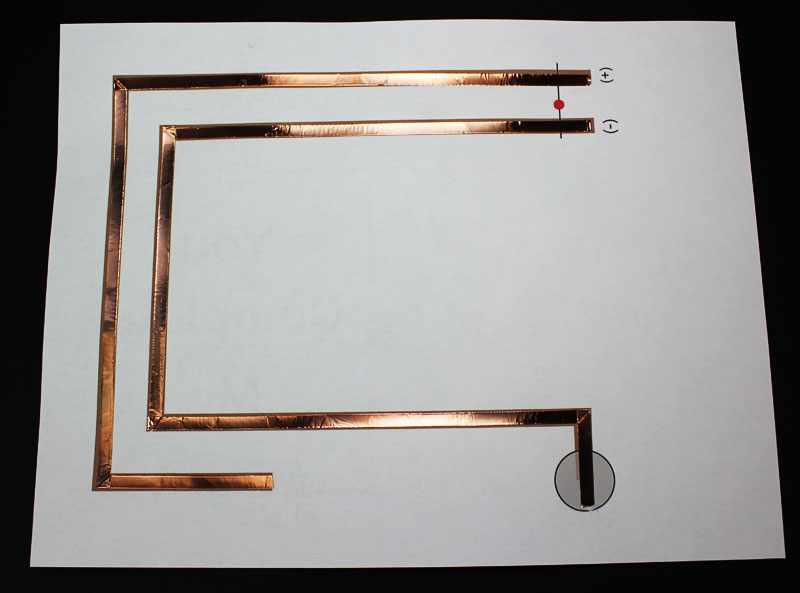
Step 3 – Fold The Template
After the copper tape has been applied, you will need to fold the template in half.

Step 4 – Attach The LED
Open the card and lay it flat. Next, you will need to bend the legs of the LED at a 90 degree angle. Before you the bend the legs, make sure you know which one is the longest. The long leg is the positive (+) side and the short leg is the negative (-) side.
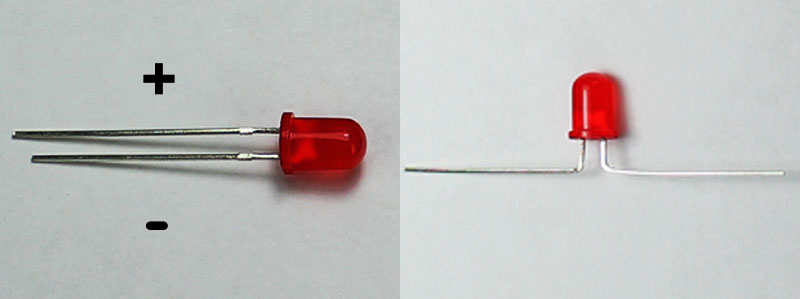
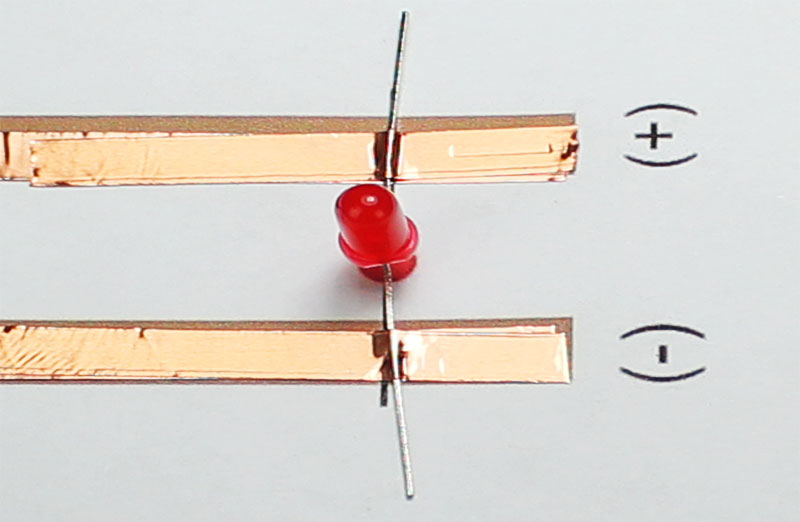
Use copper tape to mount the LED to the circuit. Make sure to tape the long leg of the LED (+) to the side marked (+) on the circuit. Tape both legs securely to the copper below it.
Step 5 – Mount The Battery
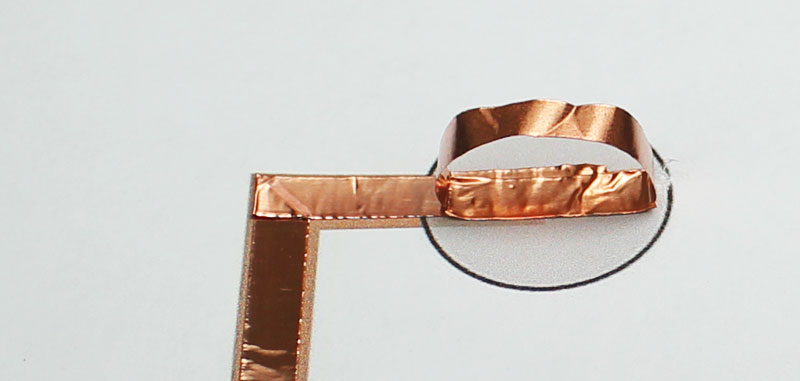
Take a piece of copper tape and roll it up with the adhesive side facing out. Stick this roll to the copper tape inside the battery circle on the template.
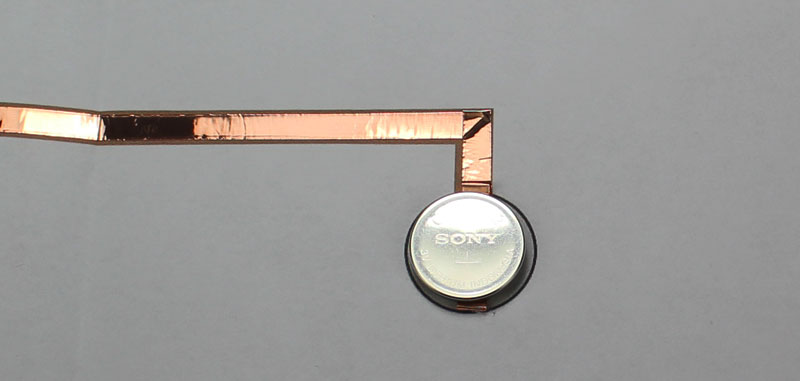
Place the CR2032 coin cell battery on top of the copper tape roll. Make sure the negative (-) side of the battery is facing down.
Step 6 – Customize The Card
The last thing you need to do is add a special message for your special someone.
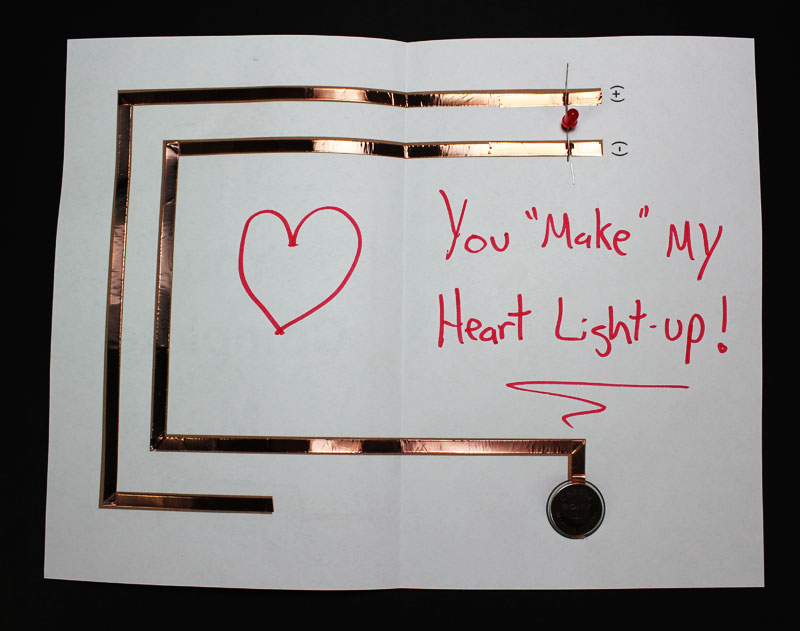

If you want more project templates, check out our other Valentines Day tutorial.

Show Us Your Project
Follow us on Twitter at @Makerspaces_com and tweet us what you’re working on. We love seeing your makerspaces and the projects you’re creating.

